

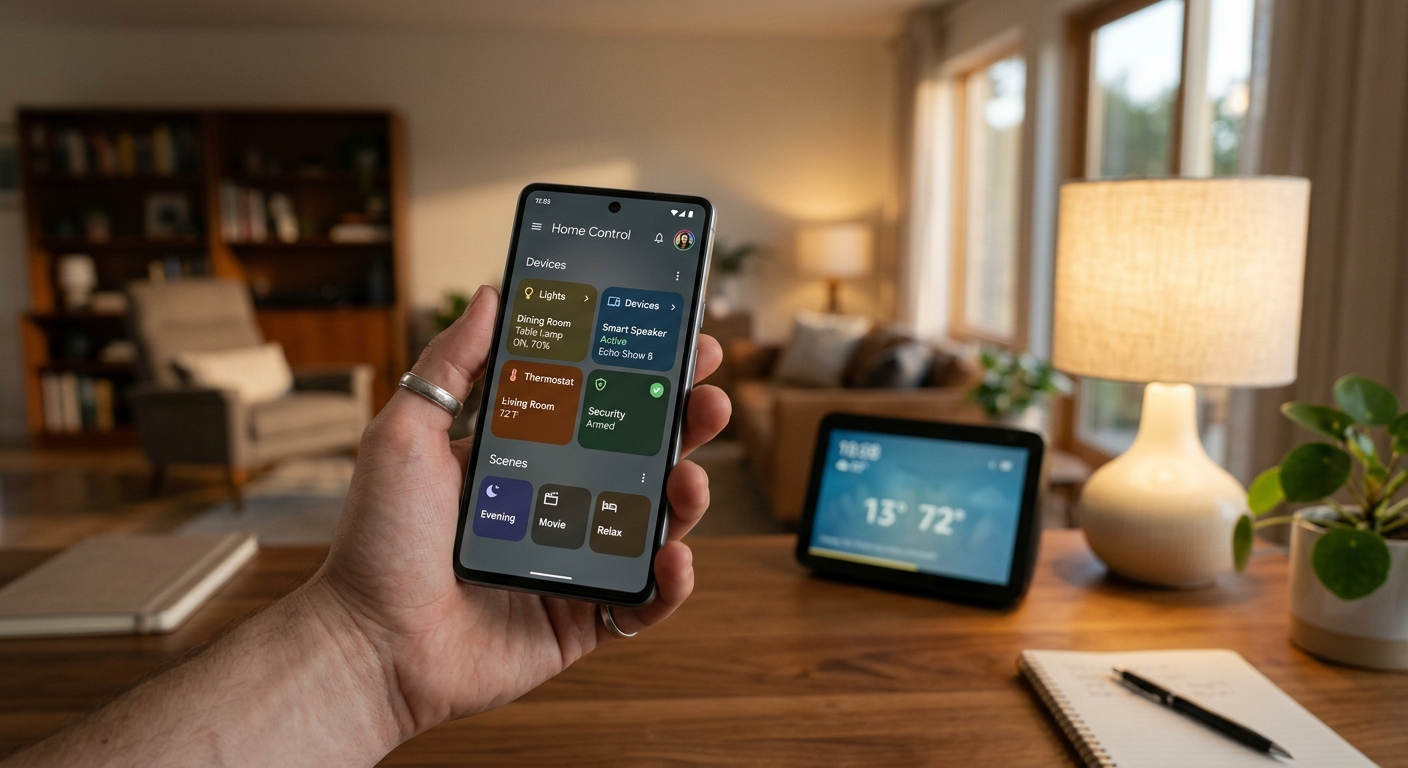
Upgrading your standard home appliances with smart plugs is a fantastic first step into home automation. However, controlling your lamps and coffee makers from a smartphone app is only the beginning. The true magic of a smart home is unlocked when you integrate these devices with a voice assistant like Amazon Alexa or Google Assistant.
Imagine walking into your home with your hands full of groceries and simply saying, “Turn on the living room lights,” to instantly illuminate the space. Connecting your smart plugs to a voice ecosystem transforms your living experience from convenient to completely hands-free. In this comprehensive guide, we will walk you through the exact steps to seamlessly integrate your smart plugs with both Alexa and Google Assistant.
Understanding the Prerequisites
Before diving into the integration process, you need to ensure you have a few basic requirements in place:
- A Compatible Smart Plug: Ensure your smart plug explicitly states that it is compatible with Alexa or Google Assistant. The vast majority of modern Wi-Fi plugs support both.
- The Native App: You must first download the plug manufacturer’s native app (such as Smart Life, Tuya, or Kasa) and successfully connect the plug to your home Wi-Fi.
- A 2.4 GHz Wi-Fi Network: Smart plugs require a 2.4 GHz network to connect. Make sure your smartphone is connected to this band during the initial setup.
- The Voice Assistant App: You need the Amazon Alexa or Google Home app installed on your smartphone, even if you are using a physical smart speaker like an Echo Dot or Nest Mini.
How to Connect Smart Plugs to Amazon Alexa
Amazon’s ecosystem relies on “Skills” to communicate with third-party devices. Here is how to link your smart plug to Alexa:
Step 1: Set Up the Plug in Its Native App
Plug your device into the wall, open the manufacturer’s app (e.g., Smart Life), and follow the on-screen instructions to get it connected to your Wi-Fi. Give the plug a simple, recognizable name like “Living Room Lamp” or “Bedroom Fan.”
Step 2: Enable the Skill in the Alexa App
Open the Amazon Alexa app on your phone. Tap on the “More” tab at the bottom right, then select “Skills & Games.” Tap the magnifying glass icon and search for the name of your smart plug’s native app (e.g., “Smart Life”). Select it and tap “Enable to Use.”
Step 3: Link Your Accounts
You will be prompted to log in using the credentials you created for the smart plug’s native app. Authorize Alexa to access your devices.
Step 4: Discover Devices
Once linked, Alexa will ask to discover devices. Tap “Discover Devices” (or say, “Alexa, discover my devices”). After a few seconds, your smart plug will appear in the Alexa app. You can now add it to a specific “Room” group within the app for easier control.
How to Connect Smart Plugs to Google Assistant
Google Home uses a slightly different interface, but the linking process is just as straightforward.
Step 1: Initial Setup
Just like with Alexa, ensure your smart plug is fully set up and functioning in its native app first, and give it a clear name.
Step 2: Add a Device in Google Home
Open the Google Home app on your smartphone. Tap the “+” (Plus) icon in the top left corner. Select “Set up device.”
Step 3: Choose “Works with Google”
You will see two options. Since you are connecting a third-party smart plug, select “Works with Google” (Have something already set up?).
Step 4: Search and Link
Scroll through the list or use the search icon to find your smart plug’s manufacturer or native app. Tap it, and log in with your account credentials for that specific app. Allow Google access to control your devices.
Step 5: Assign to a Room
Google Home will display the newly discovered smart plug. It will prompt you to choose a home and assign the plug to a specific room (like “Kitchen” or “Master Bedroom”). This step is crucial for voice commands, allowing you to say, “Turn off the Kitchen,” to shut off all devices in that room simultaneously.
Best Practices for Naming Your Devices
Voice assistants can sometimes get confused if device names are too complex or similar. For the best experience:
- Keep it simple: Use common names like “Coffee Maker,” “Desk Lamp,” or “Heater.”
- Avoid numbers: Instead of “Lamp 1” and “Lamp 2,” use “Couch Lamp” and “Window Lamp.”
- Group devices logically: Put all living room plugs into a “Living Room” group in your voice assistant app. This allows you to control multiple devices with a single command.
Conclusion
Integrating your smart plugs with Alexa or Google Assistant takes less than five minutes but completely changes the way you interact with your home. By taking the time to link your accounts properly and naming your devices clearly, you can enjoy a seamless, hands-free smart home experience.